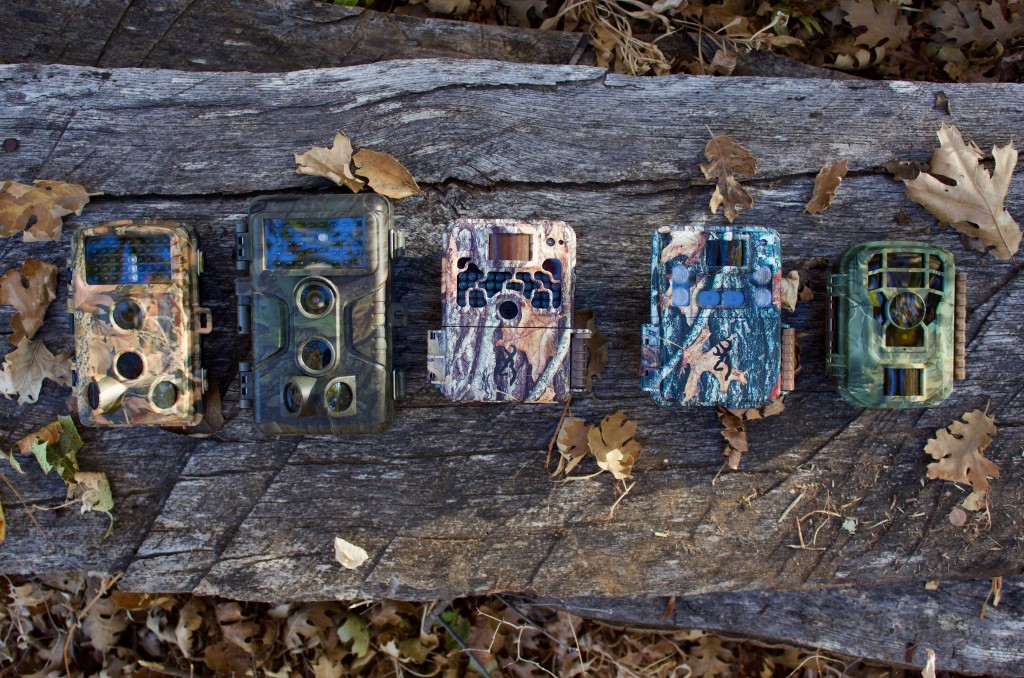
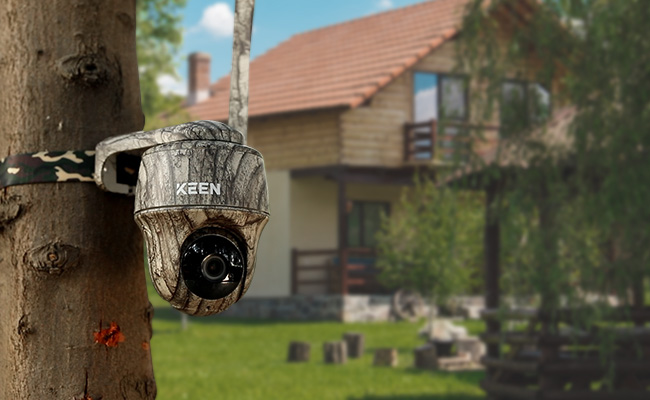
For several years now, trail cameras have increased in popularity and have become an essential tool for any hunter. They are, however, not that cheap since the most affordable trail cameras in the market do cost between $150- $200 a unit. The majority of the trail units are only capable of lasting for two years when they are not well maintained and checked regularly.
Contrary to what most people believe, the maintenance of the trail camera will not always mean bringing it in a shop for a technician to have a look at it. Any person can maintain and clean the trail camera provided they do have some little know-how and tips on how they can get things better.
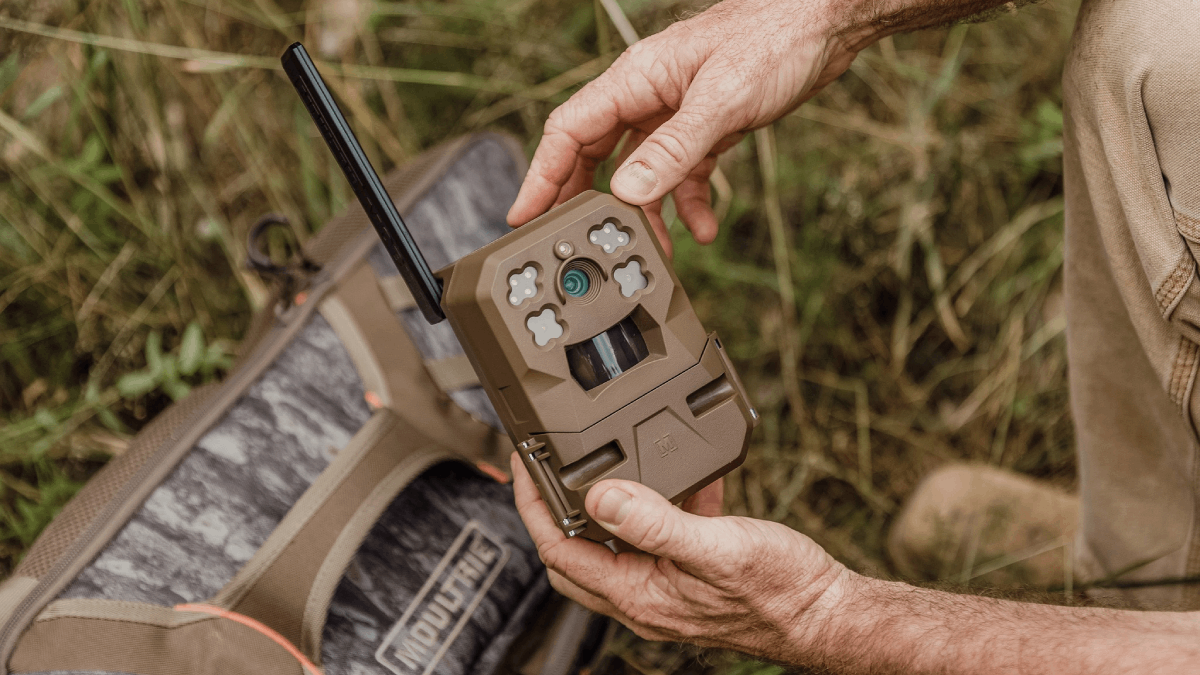
Essential maintenance of a trail camera is just like maintaining the digital cameras although the trail cameras do entail a lot than just cleaning the lens and having the batteries replaced. With its different components, it is always vital that you are properly clean and maintain every element for them to long a bit longer. Here are some of the essential tips that will help you maintain your trail camera.
Making Regular Rounds:
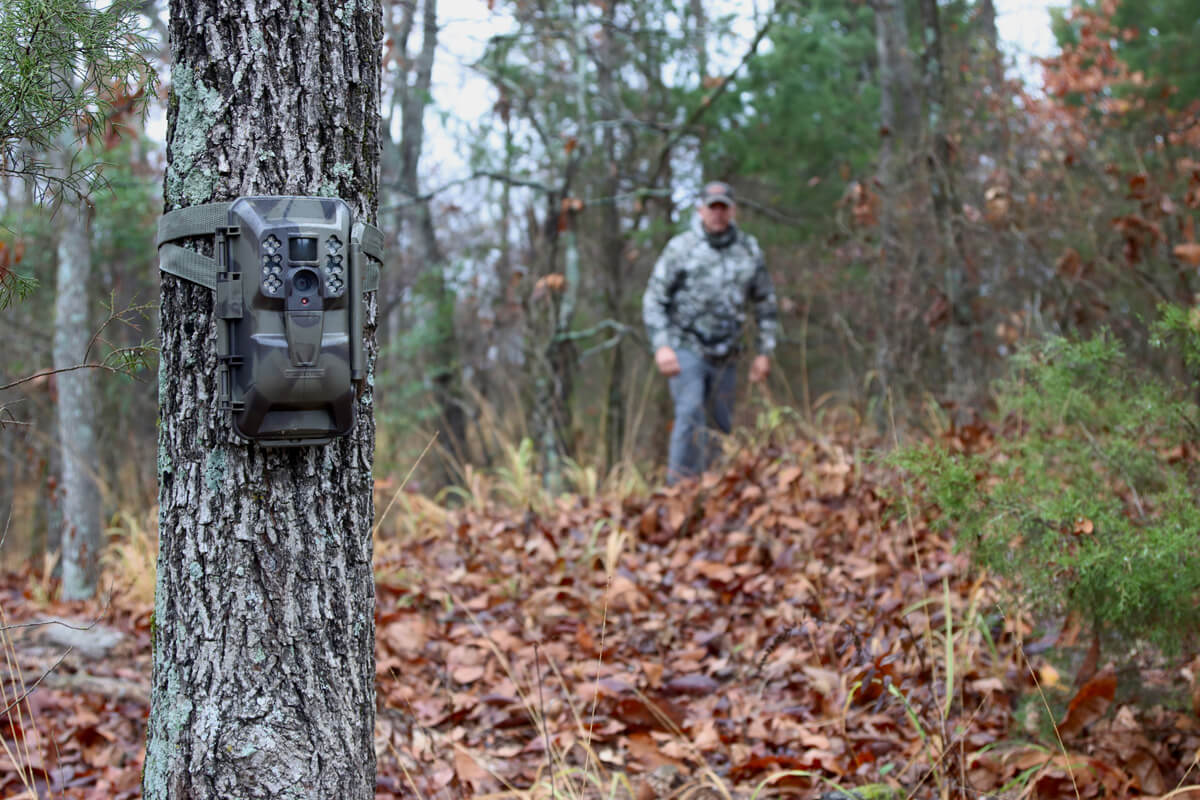
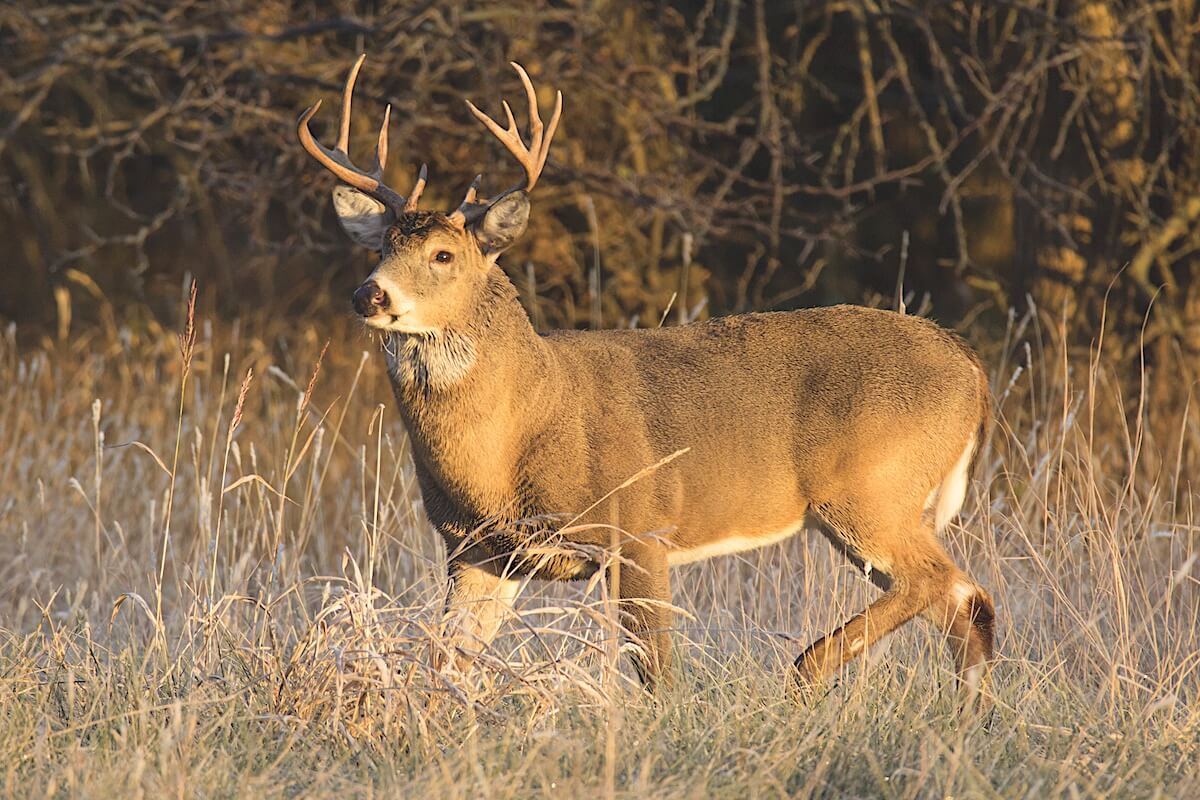
 One of the best times you can effectively carry out maintenance is whenever the wildlife is not present in your area. You can make use of the historical data which can be at midday. The early morning and late at night are some of the peak hours of activity for the deer and other types of games. When you have a human presence at such times, there are high chances they will be scared away and never come back.
The maintenance rounds should be done frequently. Some hunters will check their units every week since this will help them in minimizing human scent from getting into the areas around the camera.
Outside Looking In:
You must always try looking for any exterior damage sign whenever you need to do regular maintenance. Animals like bears, deer, and moose do like getting up close and personal with the cameras. These animals are always curious and do end up sniffing, licking or trying to bite the trail cameras off.
Ensure you do a spot check of the outside casing when doing the maintenance round. Check for scratches or bite marks. Also, take time and have a look at the mounting buckles and straps since they can get damaged with time.
Pest Control:
There are insects that will find their way inside the casing of the camera affecting their performance, especially when the wirings inside are bitten off or stripped. You can make use of the conventional insecticides to work as a deterrent although they also have a repulsive smell that will drive the games away from the trail camera.
Professional do suggest that we make use of an odorless insecticide ad before using it, we spray some near to the feeder and monitor if it drives the animals away. Ensure that you always bring the spray around when maintenance as the chemicals do get absorbed by the trees over some time.
Replenishing Camouflage:
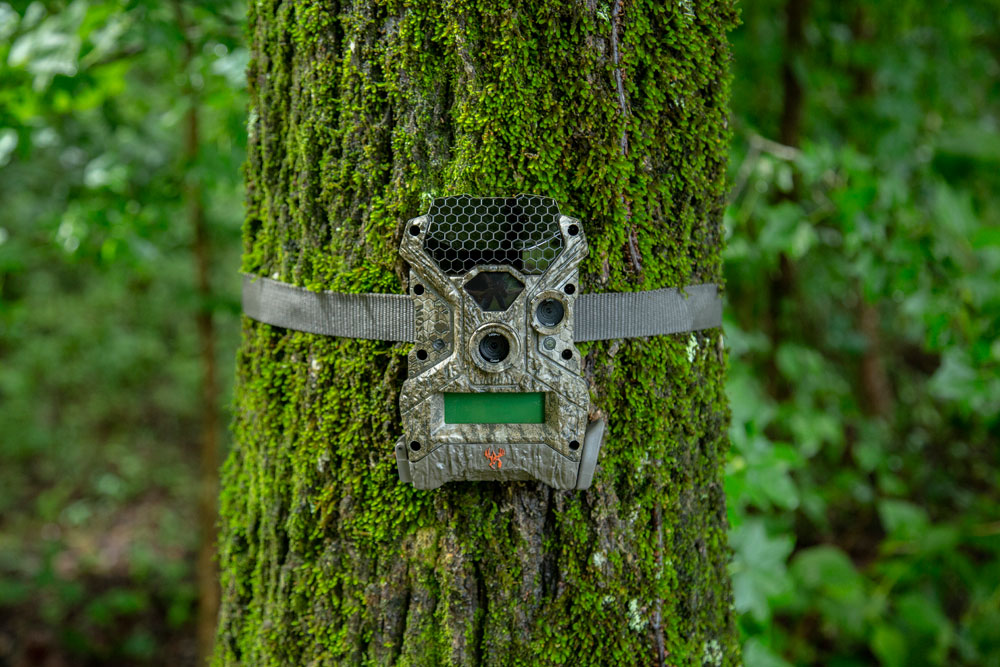
The majority of the trail cameras are usually painted in camouflage colors, and some hunters do add some leaves and twigs around to ensure it is well hidden. However, the technique will need several visits to replace both twigs and leaves which have dried off or fallen off.
Frequent Battery Check:
After you have checked the casing of the trail camera, you can now look at its batteries. In case the camera does have a viewfinder capable of monitoring battery life, ensure you do check its percentage and see if it can still last until the next maintenance phase. Ensure that you also carry your spare batteries whenever you are doing maintenance checks so that the cells which are drained can be replaced immediately.
Exercise lots of caution whenever you are transporting batteries with more than 6V capacity since wrong storage can lead to the power draining out fast and can also result in a fire in case it comes into contact with metal.

Lens Cleaning:
Dust and moisture do affect the quality of the picture, especially when they are left on the lens for a longer time. Use a lens wipe or a microfiber whenever you are cleaning a camera lens. This will help in preventing scratching whenever you are cleaning and wiping the dirt and dust.
Detection Calibration:
Animals can at times be sly and lick, sniff and bite the trail cameras causing lots of damage which can lead to the camera losing its internal settings thereby limiting the zone of detection from what it used to be. Whenever you are performing maintenance checks, ensure that you always take some pictures using a human object to enable you to see if the camera will still capture the images that are within.
Make use of the viewfinder to help you in checking the quality of the picture. It can also test if the sensors are in good working condition. You can also log on the time the subject enters the zone of detection and the time the image will be captured.
Memory Game:
It is also crucial that you check if your camera memory is full. In case it is complete, you can always have it replaced to ensure continued performance. Its built-in menu offers details on the amount of memory that is still available, and you can consider carrying a spare memory stick.
You can buy a laptop or a table for faster processing of the image. You will have to remove the memory card from the unit and have it connected to the laptop. After that, transfer all the pictures and put them back in. It will work for both the external and internal memory.
Conclusion:
Ensure you allocate some of your time to clean and check your trail camera. This will provide you with an excellent opportunity to assess the animal trails and determine if it will be of help to move the trail camera.

